Why I need a vector graphic: For laser cutting with my Full Spectrum Laser, the preferable way is to create a vector graphic. The most convenient way I have discovered so far is to work on the image with Inkscape before "printing" to the Retina Engrave "printer", which is the program that controls the laser cutter.
Here's how I got a raster image from Photoshop converted into an Inkscape vector graphic:
- To make strong outline vectors, draw filled shapes in Photoshop. The vectors will be outlines of these shapes. Crisp up the edges by using Threshold or sharpen masks. Print to a PDF file via cute pdf. If layers are to be preserved, print each layer separately.
- Open the first pdf in Inkscape. For multiple layers, import the other pdf's. Align them and move each to a separate layer.
- For each layer, select the imported image, which is a single box on the screen. Right-click and select "ungroup". Repeat this until "ungroup" is no longer available, probably 3 times.
- Select the image, then: Click Path > Trace Bitmap > Colors, Stack scans, Remove background > Update > Ok. To verify it worked, you can click Edit, and it should say "Undo: Trace Bitmap". If it doesn't say this, then you may not have "ungrouped" enough times.
- Click to select the object, which will actually be the trace, and move it to a new layer. It will look the same as the original image. Hide the layer with the original. Click Shift+Ctrl+F to open the fill/stroke paint/stroke style menu. Select the trace object. Click the "Fill" tab, and click the "X" button. The graphic will disappear. Click the "Stroke paint" tab, and click the "flat color" button. Now you will see outlines. Select desired color. If "printing" to Retina Engrave for laser cutting, to prevent the vector from show up in the "raster" tab, click the "Stroke style" tab, and enter .1 pixel for the width.
- "Ungroup" the object once again. Now there will be about seven copies, varied slightly in darkness and size. Delete all but the most desirable one. To do this, I drag one to the side, and delete. Repeat until dragging reveals that there are no others left, then undo the last move. Note: If the original image was not one solid color, these seven layers of lines will be contours around changes in colors. In that case, keep however many vectors you like. I kept two layers for the wheat graphic below.
- Repeat for each separate layer. Color the layers a different color for each unique laser power/speed setting desired, choosing from the six main colors & complements: red, green, blue, cyan, magenta, yellow. Black may also be used, but is best reserved for raster images.
- To make a raster image also, either fill a shape or outline with more than .1 pixel thickness. Make sure there is a raster dot (even a white one will do) at the upper left of the page, so that the raster image will align properly with the vector image in Retina Engrave. In Retina Engrave, checking "Ignore Raster" then printing from Inkscape will load in the vector data without updating the raster data. Works the same way with "Ignore All Vector". This gives nice control over what is in the raster and vector images.
Add any text or features desired, then "print" to Retina Engrave, and you're ready for some laser cutting! The settings in the photo below worked well for cardboard, if it lays flat on the table. If it curls up, the cut may not go all of the way through.
 |
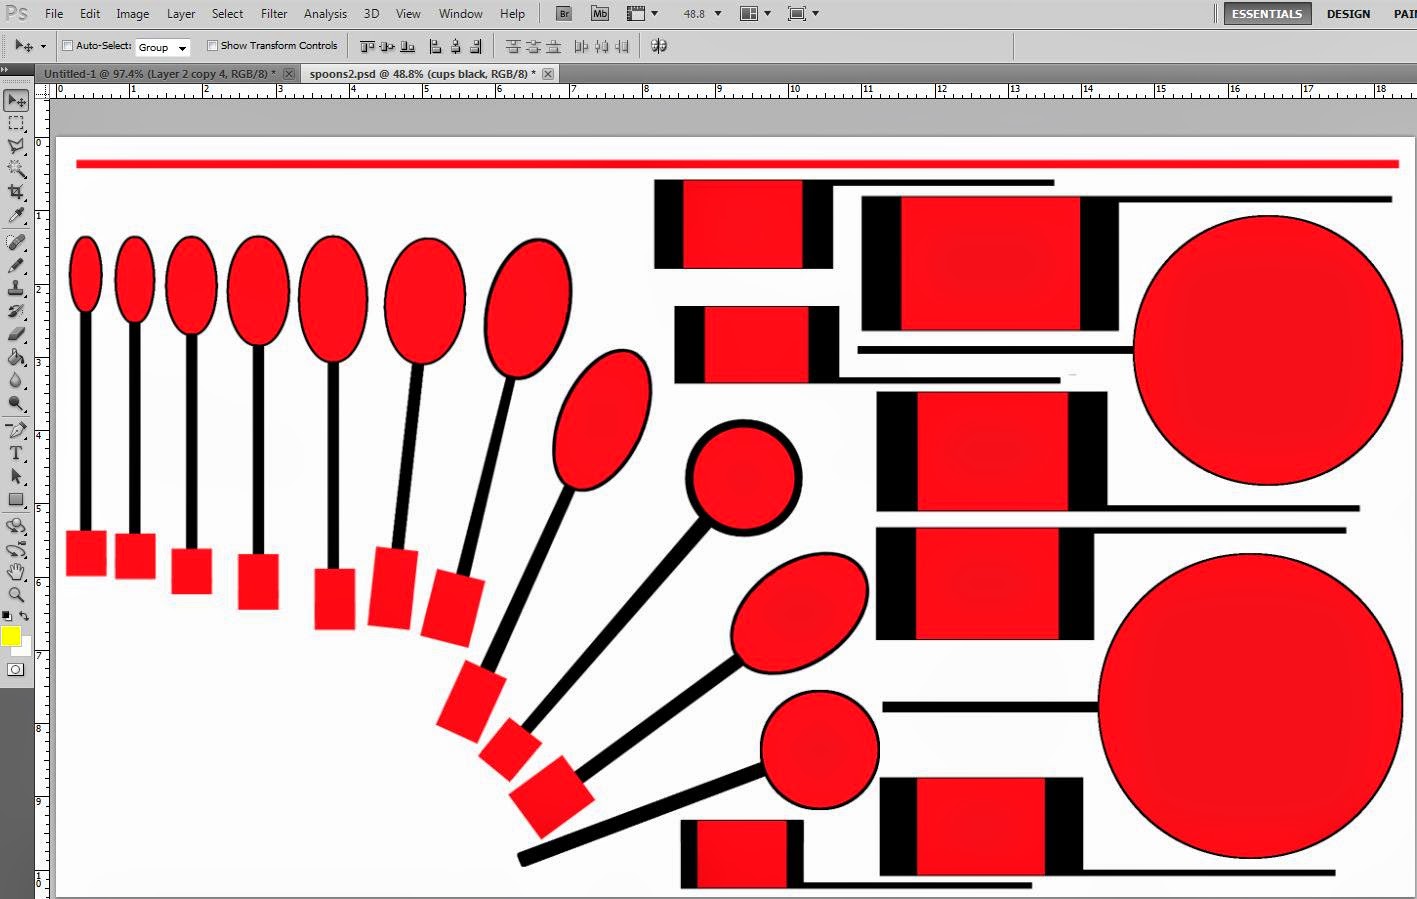
| Photoshop image |
 |
| Converted Photoshop layers, plus text and a graphic |
 |
| Settings for laser cutting cardboard, test case before trying on wood. Cutting paths are color-coded and assigned an order, speed, and power. The Magenta speed was changed to 100 before cutting was started. |
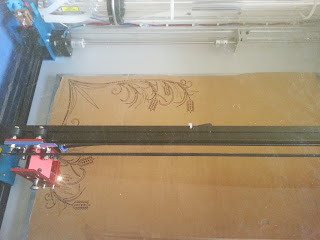 |
| Burning the graphic. This scorched the top layer without actually cutting. |
 |
| The laser actually caused an orange flame to briefly appear while cutting. The cardboard shifted midway through the cut, because of the vent fan. Next time I will tape it down before starting a cut. |
 |
| The cardboard test cut being tried out. Now my measuring cup and spoon collection will stay put in the drawer. |


This is fantastic. Thank you so much!
ReplyDeleteThank you so much for the detailed article
ReplyDeleteI love this wonderful article. It will help me in my future works.
ReplyDeleteBest Regards,
clipping path service provider